nachdem ich die midibox ja nun erfolgreich aufgebaut hab, haben sich immer mehr gedanken entwickelt, was man daran anschliessen könnte. drums wären eigentlich meine lieblingsidee, geht aber so ohne weiteres leider nicht.
glücklicherweise gibt es ein artverwandtes projekt namens eDrum. hierbei handelt es sich um eine schaltung, die eingehende (drum-)signale verarbeitet und als midi-daten ausspuckt. auf ins gewühl:
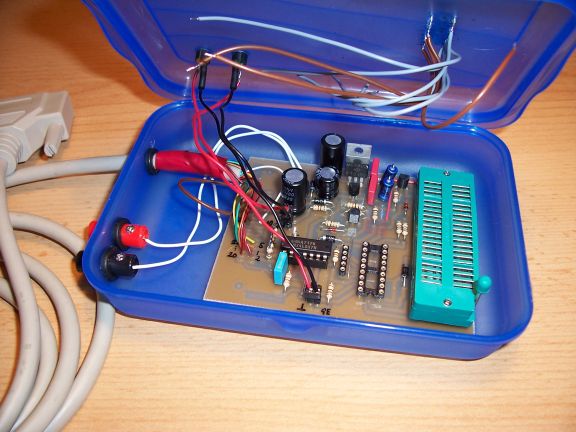
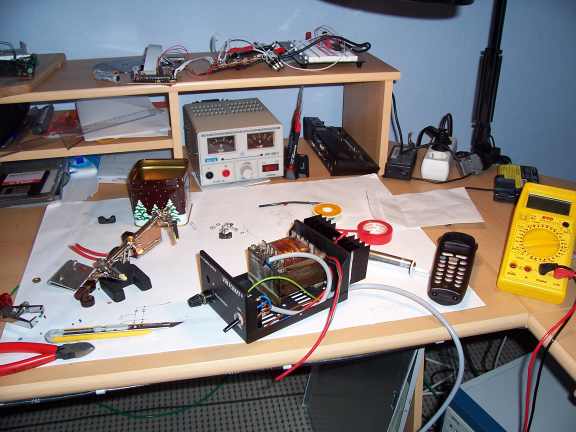
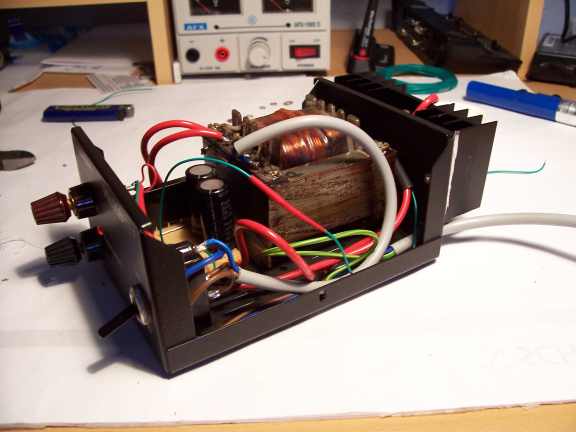
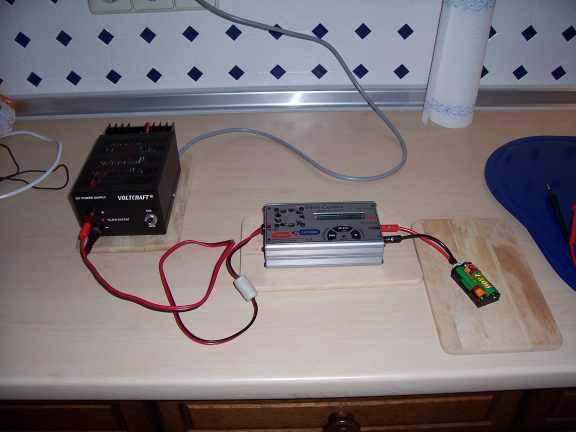
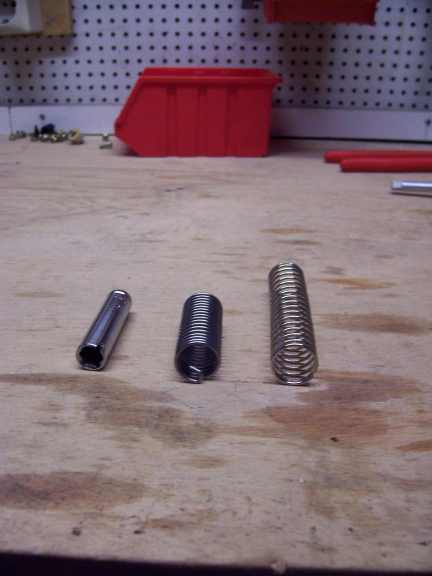
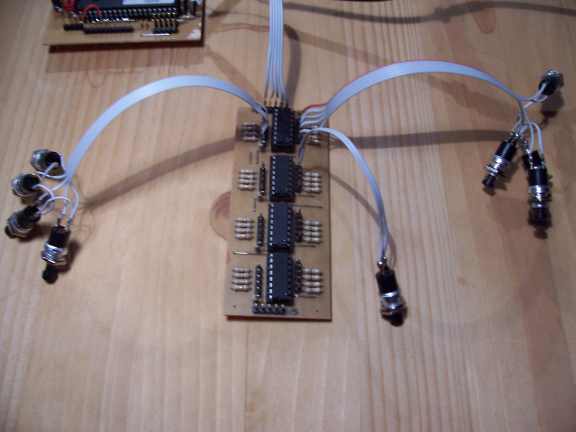
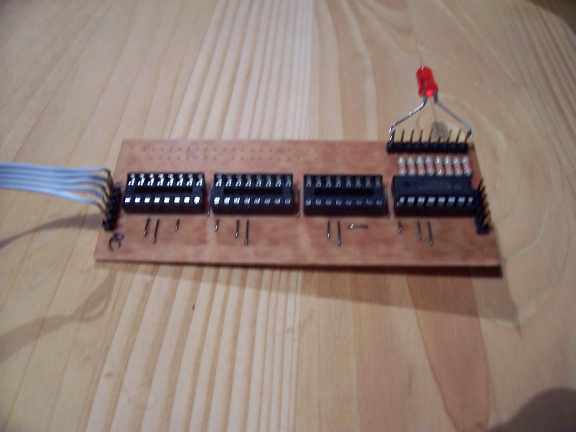
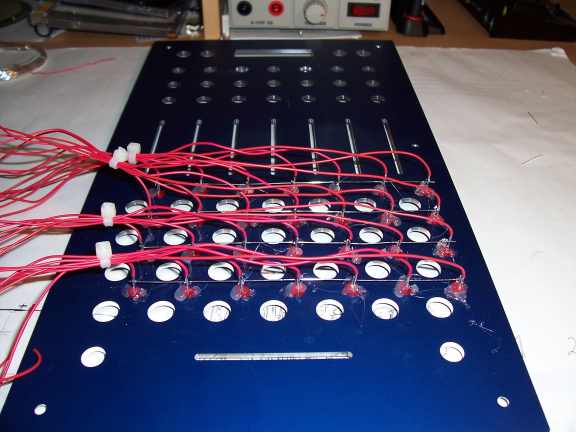
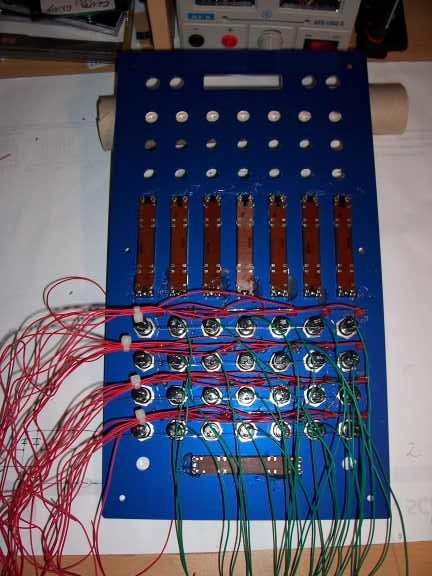
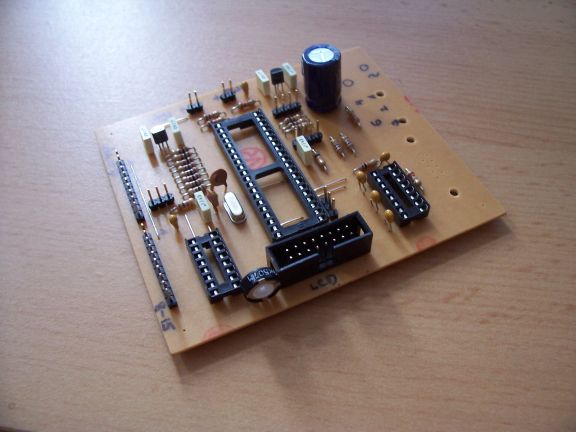
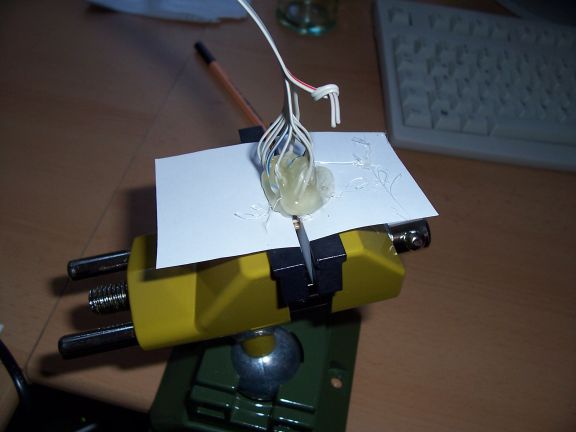
das ist die grundplatine der schaltung, größtenteils fertig aufgebaut. die drumtrigger werden ähnlich wie bei der midibox von thorsten klose von einer weiteren platine (8 analoge eingänge) aufgenommen (foto wird nachgereicht). prinzipiell kann man das ding hier auch auf lochraster zusammenfriemeln, aber weil’s schon beim ersten mal so gut lief, hab ich wieder bei mikes-elektronikseite bestellt. alle teile + platine (1 loch fehlte) “für’n appel und ‘n ei”.
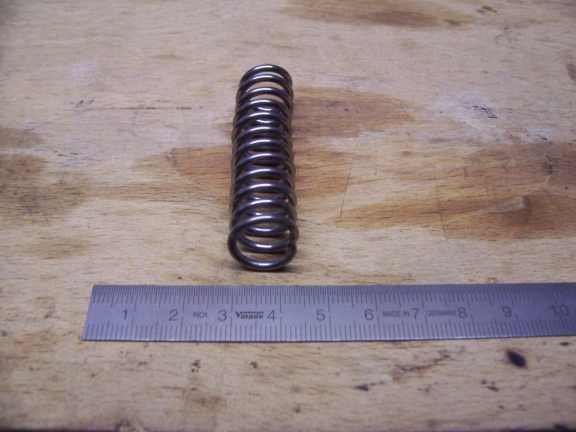
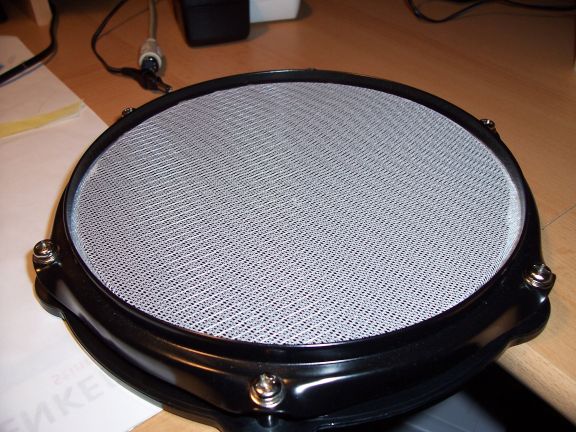
weil ich noch nicht genau wusste, wie, wann, wer, und wieviele (und überhaupt) habe ich erstmal 4 dieser übungspads (stück 16€ bei markstein) bestellt:
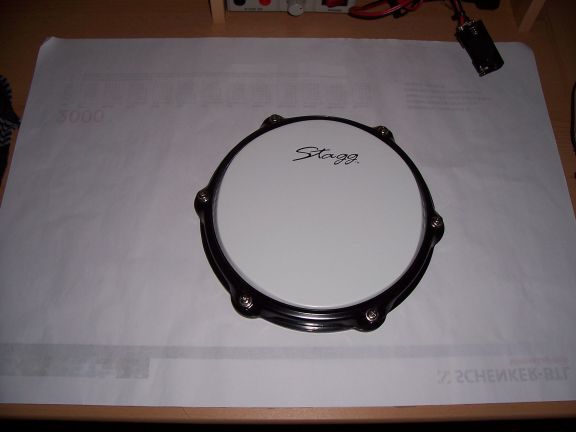
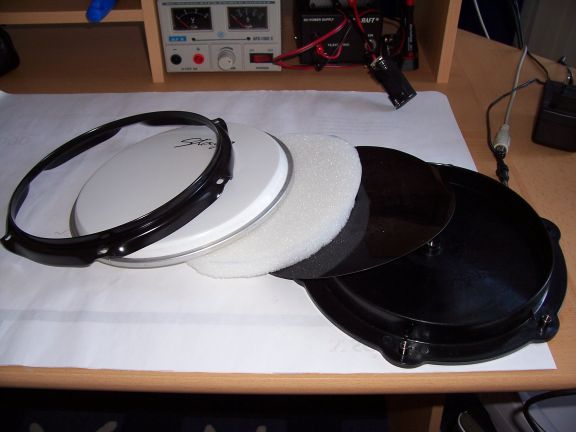
und das erste mal gleich auseinander genommen.
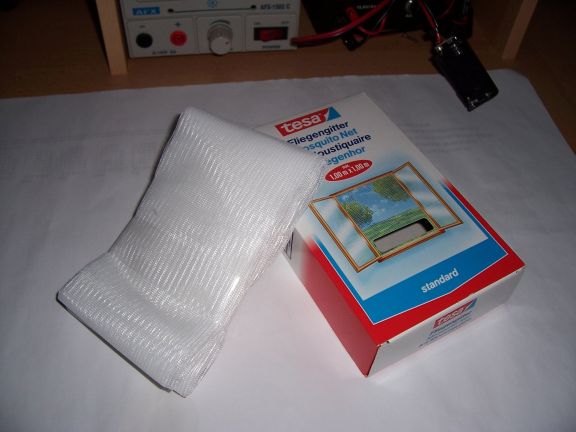
auf edrum.info findet man einige hinweise, wie man daraus ein zünftiges digipad baut. dem erst(best-)en bin ich mal nachgegangen. kernelement ist fliegengitter und der mantel einer dünnen leitung (es geht auch silikonschlauch o.ä. aber die schlauchleitung ist preislich unschlagbar).
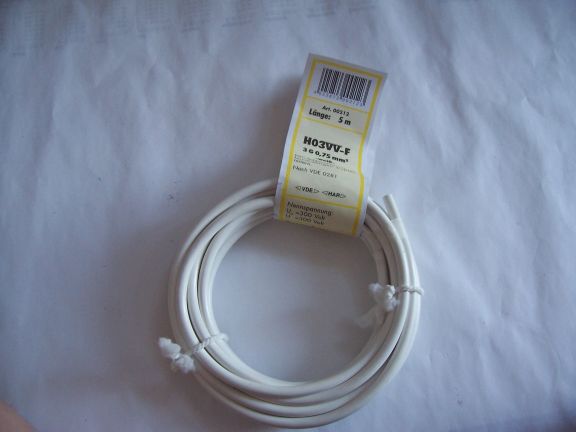
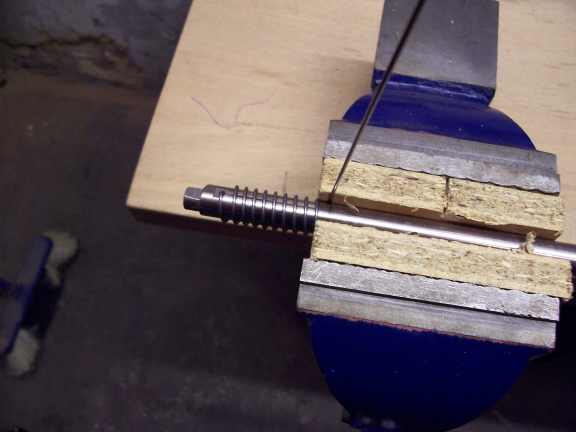
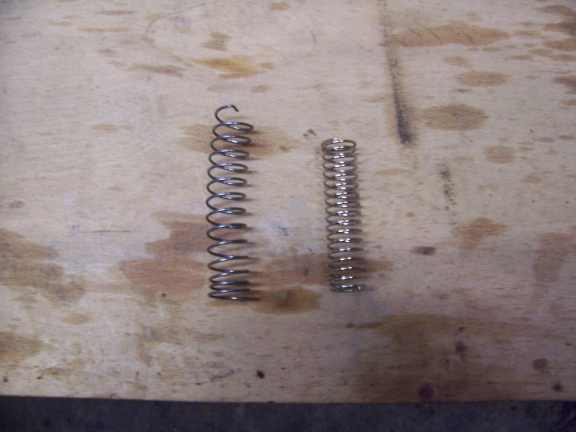
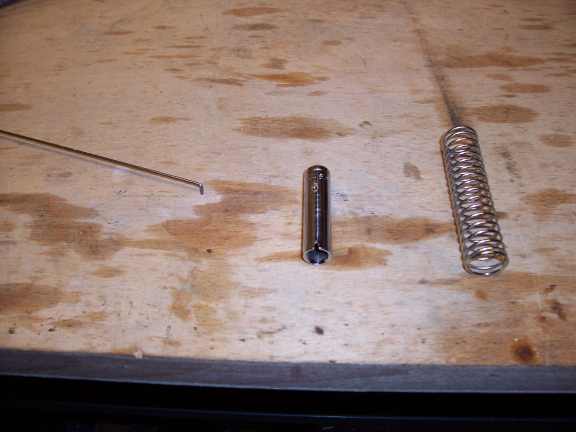
von der leitung wird ein passendes stück (einmal ‘rum) abgeschnitten und die adern entfernt. anschliessend wird der mantel mit sekundenkleber zu einem ring:
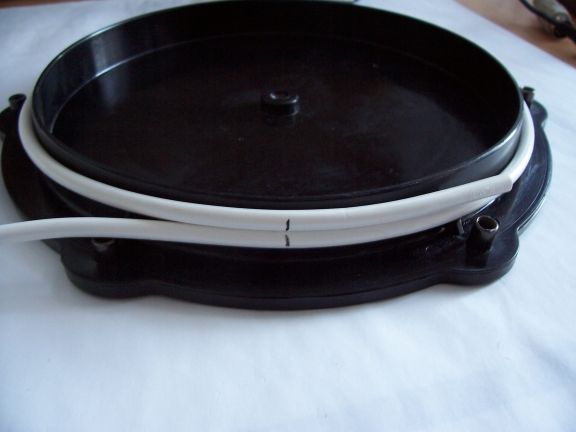
der ring wird dann mit zwei gegeneinander verschränkten lagen fliegengitter bespannt. heisskleber macht’s einfacher, aber nicht unbedingt hübscher:
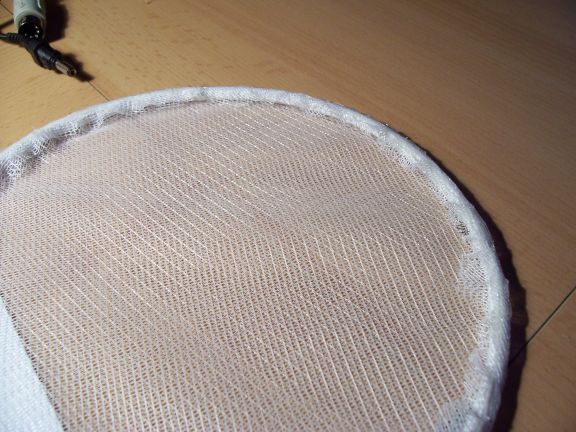
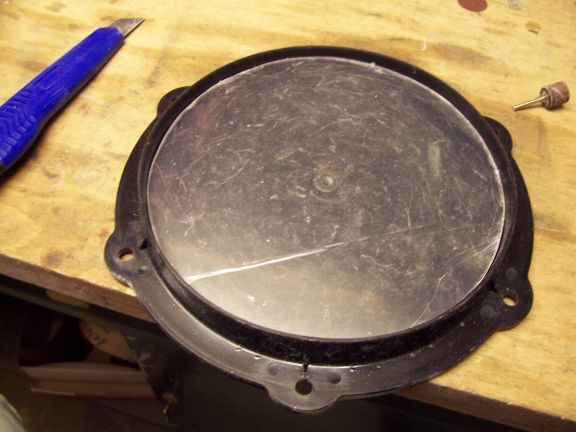
anschliessend wird der ring wie ein normales fell eingespannt. der sensor zum abgriff kommt in ein paar tagen, dann geht’s hiermit weiter.
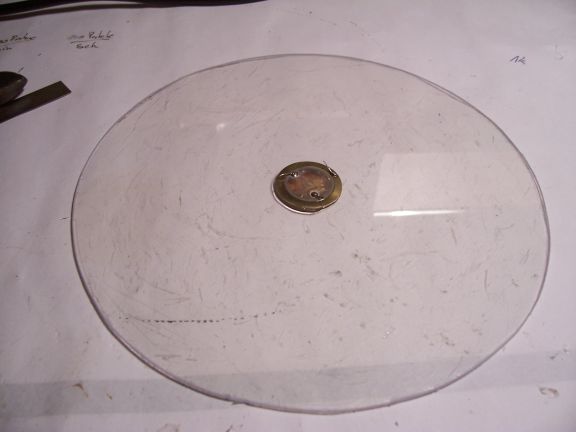
um ehrlich zu sein – ich hab’s zwar noch nicht ausprobiert, aber ich habe nicht unerhebliche hemmungen, auf das ding einzutrommeln (es ist und bleibt schließlich fliegengitter). deswegen habe ich mich parallel noch damit angefreundet, ein mousepad auf (irgendwas, letztlich wurde es) plexiglas zu kleben. der gedanke, darauf ‘rumzudreschen, ist weit weniger herausfordernd.
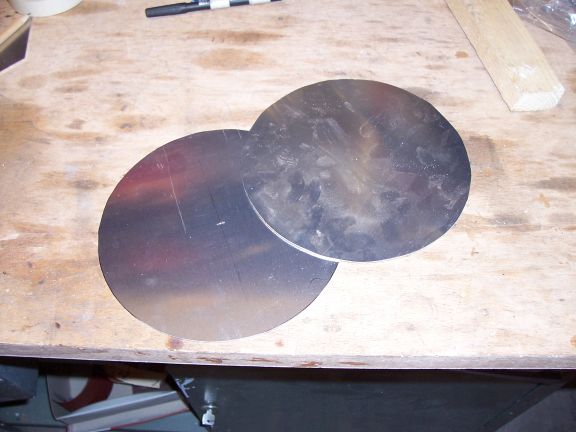
flugs also einen absolut perfekten kreis ausgedremelt:
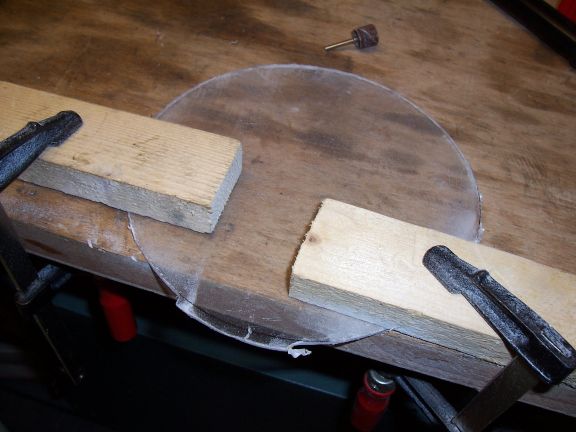
und dann erstmal keine lust mehr gehabt. also an genau DER stelle fehlt mir die inspiration. mal sehen, da kommt sicher noch etwas. naja ich bestell’ jetzt erstmal die sensoren und bau’ die andere platine und das gehäuse auf und dann geht’s weiter.
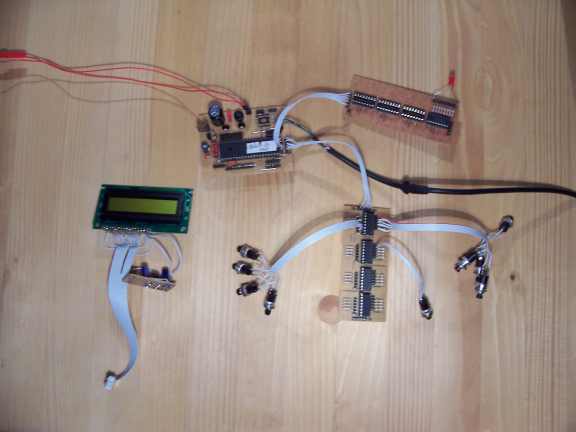
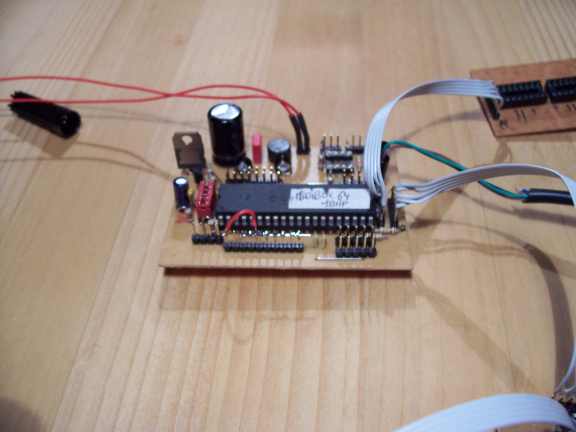
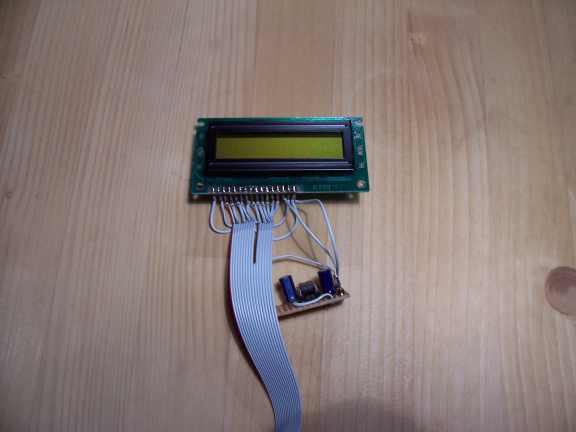
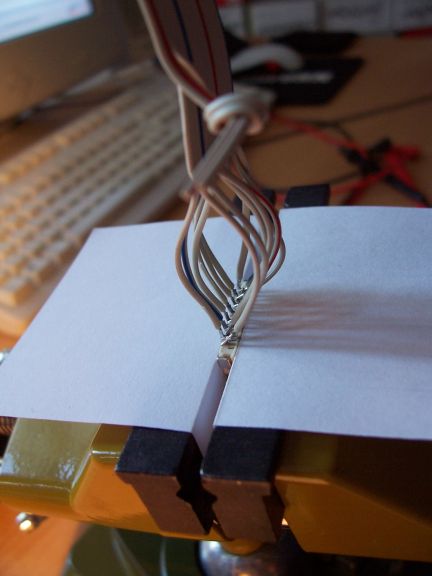
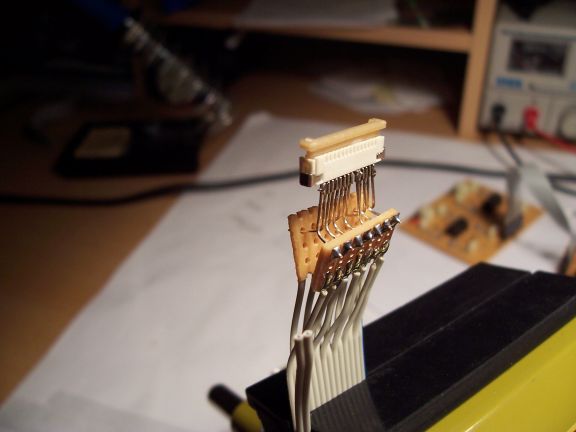
[lange zeit später:] in der zwischenzeit habe ich den fehlenden rest der bauteile (piezo-gedöhns, lc-display, buchsen etc) ersteinmal bei pollin geschossen und mal richtig spass gehabt. das display hat einen folienanschluss, entsprechend nervig (weil smd-abstände, also 1,27 mm) war der anbau.
alle 10 minuten musste ich pause machen und einen schluck bier nehmen, weil ich überhaupt gar nix mehr sehen konnte. letztlich ist doch was ganz brauchbares dabei herausgekommen.

kein kurzschluss, alles richtig vertüddelt, astrein, dann wird die geschichte jetzt erstmal versiegelt:
formschön und präzise. und weil es nach dem eingloddern immer noch ohne kurzschlüsse und voll durchkontaktiert war, kann man dem ganzen nur noch eins hinzufügen: AMEN
[wenige tage später:]
überflüssig zu erwähnen, daß das display nat-ü-rlich nicht funktioniert… im moment denke ich, es liegt an einem falschen datenblatt. na meinetwegen. nochmal gloddere ich das jedenfalls nicht mit heisskleber ein (hab’ ja nicht unendlich flexprint-buchsen (die mit dem smd-rastermaß…ARRGHH) hier ‘rumfliegen).
man kann mir ja sicherlich so einiges vorwerfen- aber an kreativem umgang mit lötzinn hat’s mir selten gemangelt. ob das gut ist oder nicht, finde ich gerade heraus. =-)
[wieder etliche tage später:]
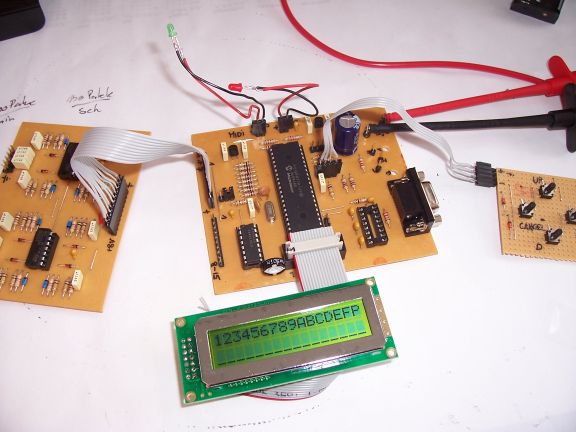
tja…es war nicht das display, es war nicht die verkabelung, es war schlicht und einfach der controller. der satz ‘industrie-standard kompatibler kontroller’ impliziert halt nicht zwangsweise einen ‘hd44780’. hat etwas gedauert, das herauszufinden. also gut. schnell nochmal bei pollin ‘nen satz displays (und für den fall der fälle etwa 100000 dioden) geschossen und nochmal von vorn.
und? und? natürlich: klappt:
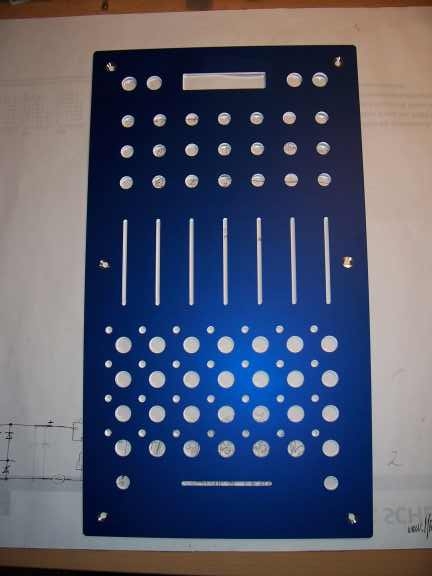
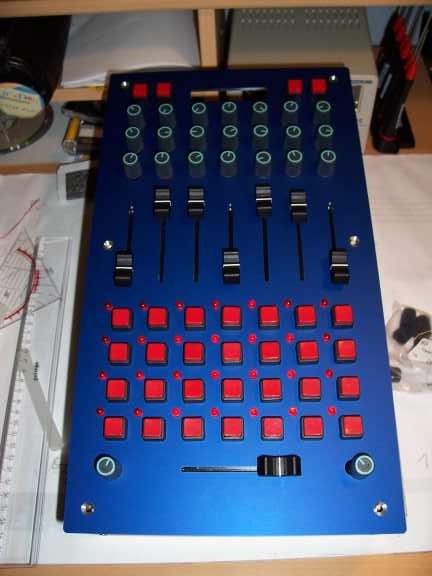
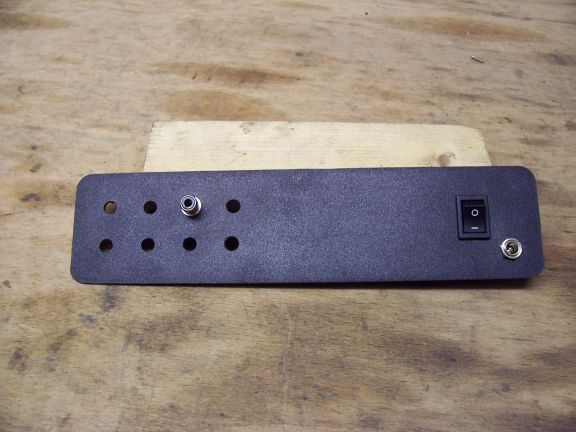
und weil das endlich läuft (und weil ich eigentlich noch nix dran getan hab), habe ich im anschluss gleich mal das gehäuse bearbeitet. hier mal nur ein ausschnitt, den rest sieht man unten schöner
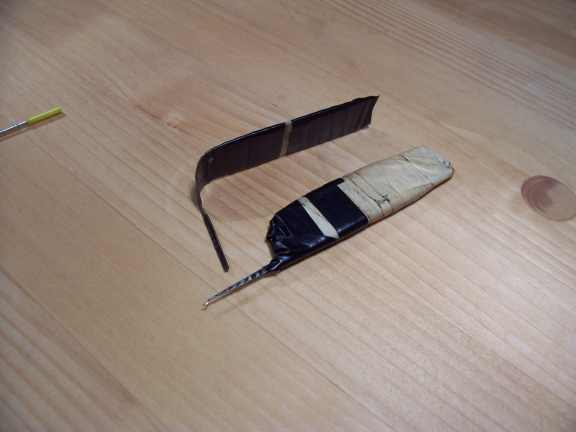
fehlen nur noch die drums. irgendwo weiter oben hatte ich ja schon mal damit angefangen, aber dann verliess mich die inspiration. dafür habe ich jetzt keine ausrede mehr, also frisch ans werk und erstmal den piezo geschlachtet:
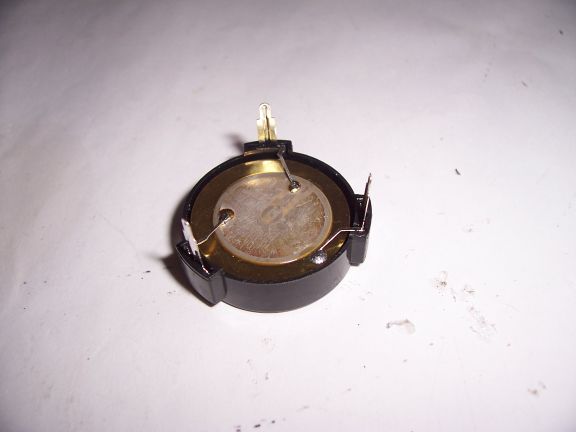
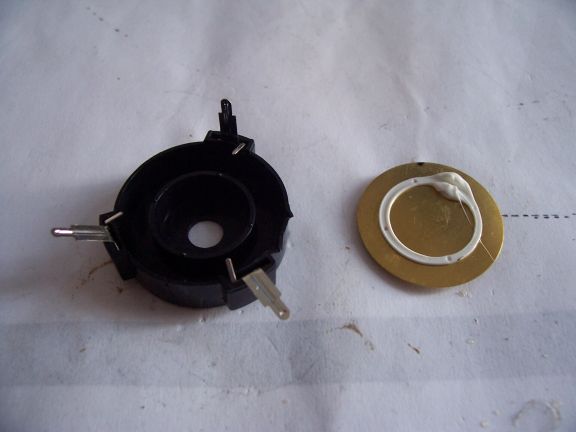
und mit sekundenkleber direkt neben dem cinch-anschluss festgeklebt
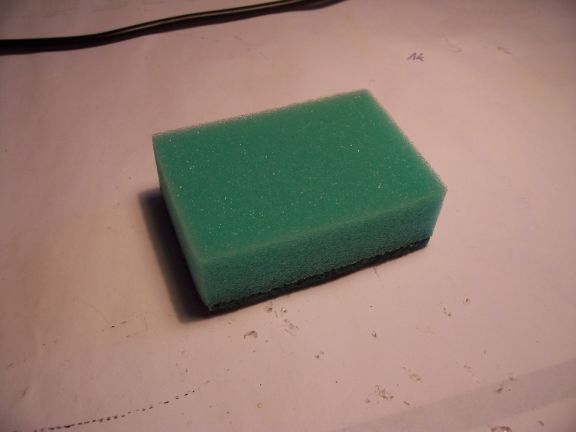
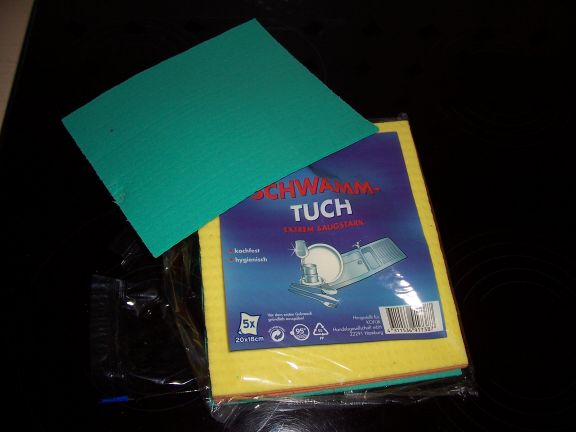
die verbindung vom fliegengitter (=trommelfell) zum piezo wollte ich mittels schaumstoff machen. das problem, woher man abends um acht noch passend schaumstoff herbekommt, hat sich dank endloser kreativität auch schnell geklärt ![]() :
:
letzlich kommt soetwas dabei heraus:
gut ist, daß es funktionert. schlecht ist, daß man ‘wie auf kalt eisen’ auf das fell einhämmern muss, um dem ding ein brauchbares signal zu entlocken. also weiter zum nächsten versuch. auf dem weg vom klo (ich habe den ganzen tag an der schaltung gearbeitet, man möge es mir verzeihen….) erinnerte ich mich an das ausgedremelte plexiglas. nun denn.
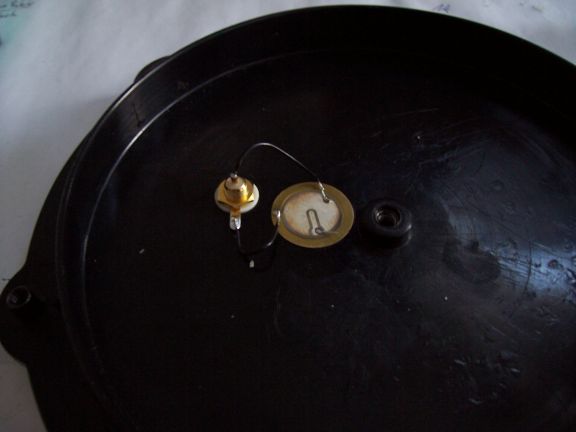
erstmal den piezo in sekundenbruchteilen mittig festgeklebt:
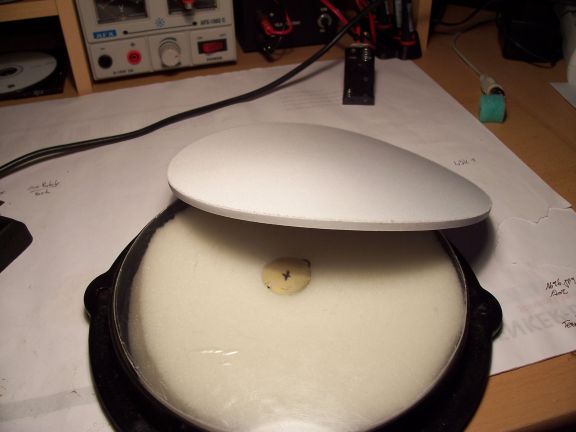
und dann den ganzen kram angeschlossen und einfach auf den schaumstoff gelegt, der original dabei ist. der weisse deckel kommt mit doppelseitigem klebeband obendrauf. dieses ding scheint wie dafür gemacht zu sein, ist aber eigentlich ein saugünstiges mousepad eines schwedischen möbelverkäufers. stückpreis: 50 cent. ich habe gleich sechs davon gekauft.
geil, oder??
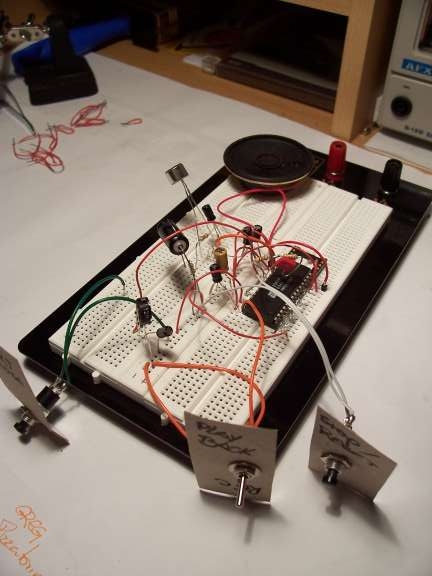
und damit ihr seht, daß das ganze auch funktioniert, gibt es hier mal das erste video meines edrum-projektes. hier kann man auch sehr schön das schlichte gehäuse erkennen (und übersieht hoffentlich, daß ich noch ‘n fehler angebaut habe):
[tube]http://www.youtube.com/watch?v=Z8jcM8A26Jk&feature=player_embedded[/tube]
[wenige tage darauf:]
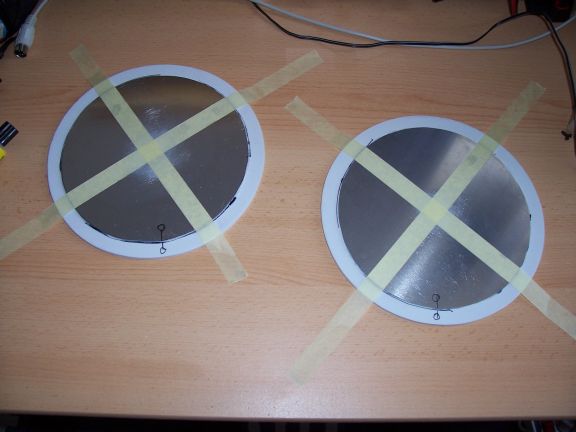
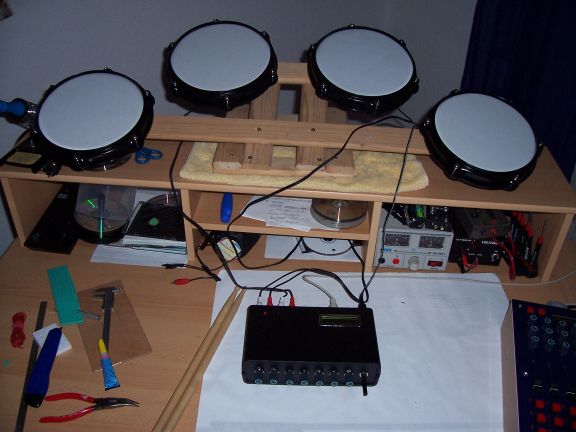
die ganze konstruktion hat mittlerweile eine kleine evolution durchgemacht. das plexiglas wurde nach den ersten tests durch aluminium ersetzt. das macht die pads (alle vier sind jetzt fertig) recht angenehm in der handhabung, weil auch an den rändern noch mit normalem bis zivilen aufwand (drums ‘benutzen’, nicht ‘verkloppen’) ein signal erzeugt werden kann.
dank meiner neuesten errungenschaft *räusper* eine sache von sekunden:
und weil ich mittlerweile echt pfiffig geworden bin, was die konstruktion dieser teile angeht (fluch macht kluchg), habe ich mousepad und aluplatte erstmal direkt nach dem zusammenkleben fixiert. sieht auch toll aus, ich denke, ich lass’ das so. =-)
um der mechanischen kopplung der drumpads durch das ständergerüst entgegenzuwirken, habe ich auch schon eine idee:
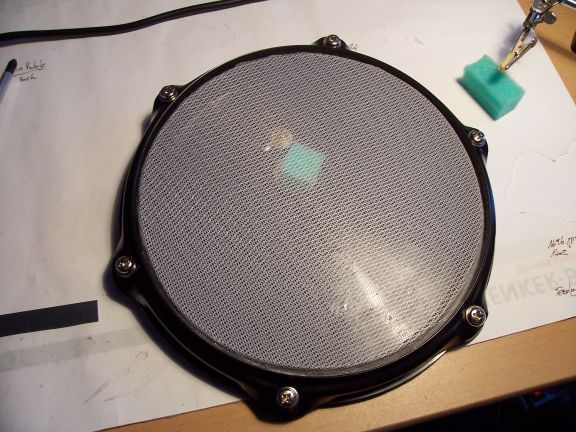
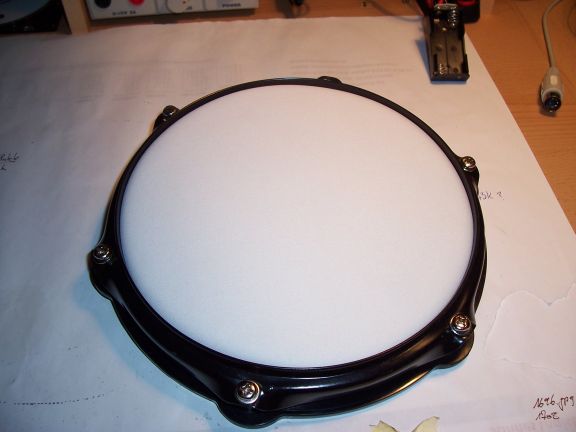
und so sieht’s schliesslich aus:
und jetzt wird der ganze kram mal so richtig gefoltert. ich denke, es wird noch genau EINE sekunde dauern, bis die nachbarn meinen rausschmiss fordern…egal. DA:
[tube]http://www.youtube.com/watch?v=MeEnRpRg7W4&feature=player_embedded[/tube]
(für die, die es mal wieder besser wissen: JAAA-HAAa der letzte beat war natürlich verkehrt. aber im gegensatz zu dir bin ich auch schon total betrunken – PUNK).
[tube]http://www.youtube.com/watch?v=WPCuRUZhlyo&feature=player_embedded[/tube]
es ist übrigens donnerstag abend/nacht. ich werde freitag tagsüber (normo) und freitag nacht arbeiten müssen. samstag ziehen freunde von mir um (helfe ich), samstag nacht arbeiten. sonntag ist ball des handwerks – da wird gearbeitet. ab montag wird dann wieder normal gearbeitet. das ding hier wird mich ganz bestimmt bis morgen früh in anspruch nehmen. egal – jeder würde das so durchziehen, weil es so endlos viel spass macht
guter tag.