Quite some time ago I got myself the Torq System from M-Audio. Due to the fact that I don’t like the thought of controlling a musicsoftware via my computer’s mouse (just because it looks plain stupid in front of an audience) I used the BCR2000 from Behringer in conjuntion with Bome’s Midi-Translator for scrolling through the playlist, triggering fx, loading tracks, etc…
Good thing about it: it worked. Bad thing: Every now and then I am making music in a little bar and the dj ‘booth’ is quite packed. using the BCR2000 always meant using an extra laptop stand on top of the mixer so noone couls really see me.
That’s why I built my own Torq-dedicated MIDI-Controller.
Ladies and Gentlemen: I’m proudly presenting the Andy1000 Midi Controller 
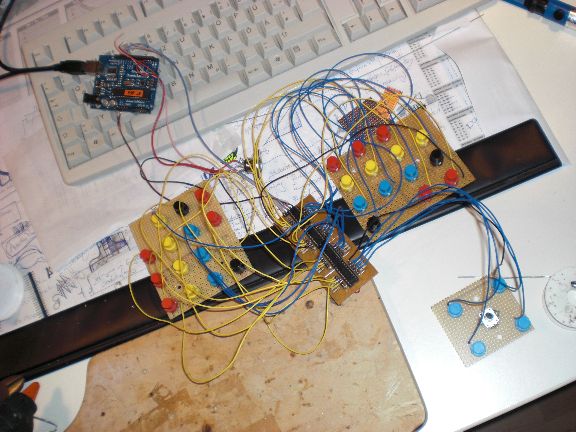
This project is based on the Arduino platform with a “Duemilanove”-Board and an ‘168’ controller (pretty basic stuff).
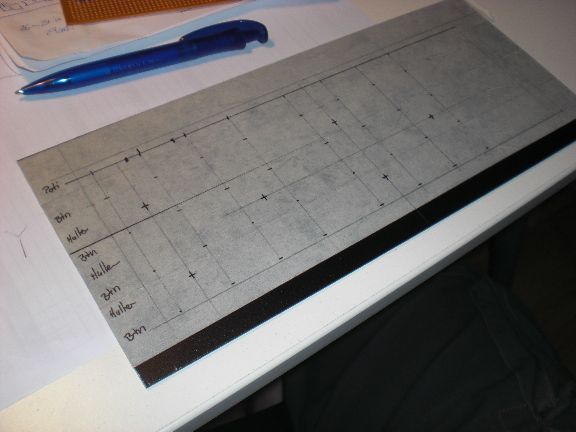
Starting with a frontplate from a Server Rack. It was 19 inches wide but I cutted it down to 30cm (11.8 inches) to make it fit in front of my laptop. The marks for the holes have to be set rather precise since the buttons will later be fixed on a vectorboard.
After drilling. The housing is made of plywood. This version is 6 cm high. I later built a new one which is only 4 cm.
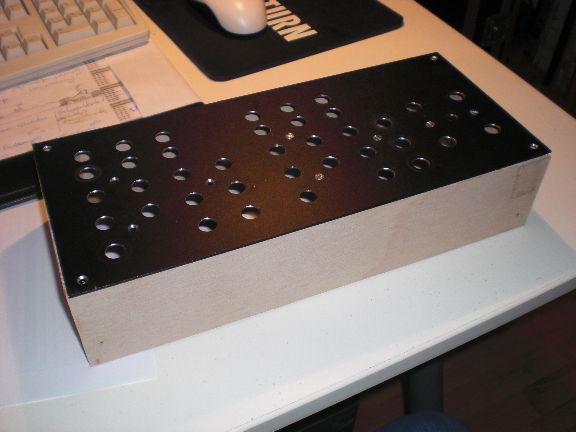
That’s basically about what it will look like

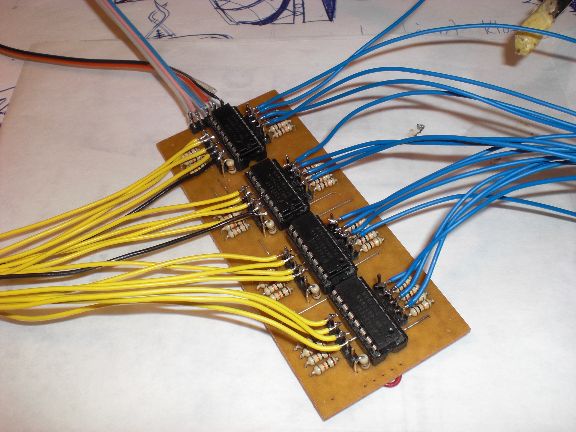
The Buttons are attached to a DIN-module (Digital In)-board from uCapps.de that I had lying arround. Basically it’s just 4 shift registers. No real magic here.
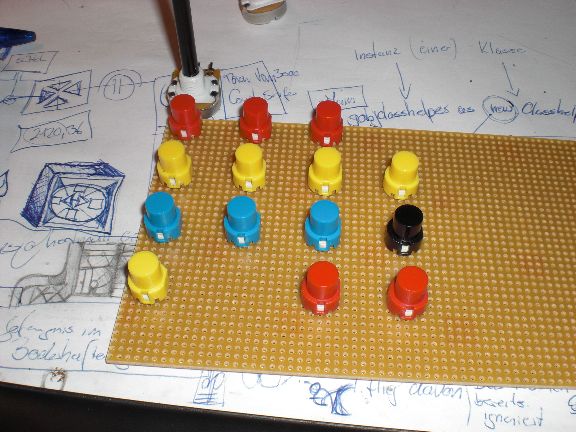
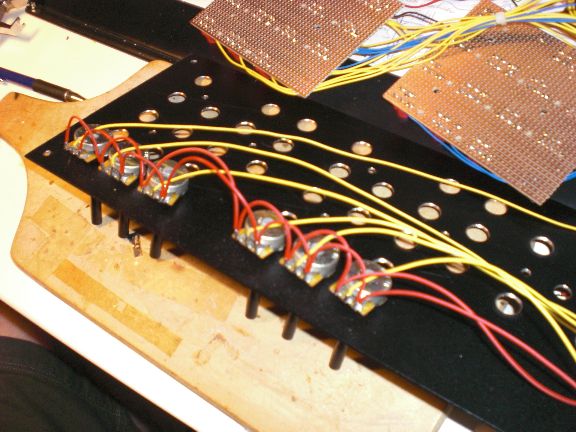
Buttons mounted to a vectorboard
Interconnections. I didn’t really care about the pins I attached the buttons to since this will later be handled within the microcontroller’s code.

One extra rotary encoder (ALPS, 24 steps) for scrolling through the playlist. The vectorboards with the buttons will be fixed to the frontplate via screws. The Arduino and the DIN-Module will later be hot-glued to the bottom of the case.
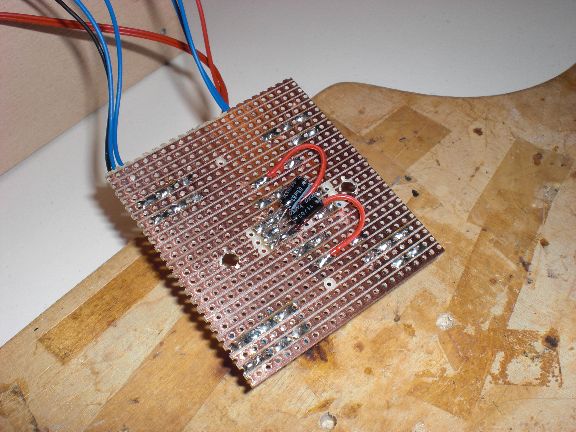
This extra circuit was attached -after- all the basic soldering was done. It turned out that it was necessary to do some debouncing of the rotary encoder’s output. It is based on this scheme and helps a little bit.
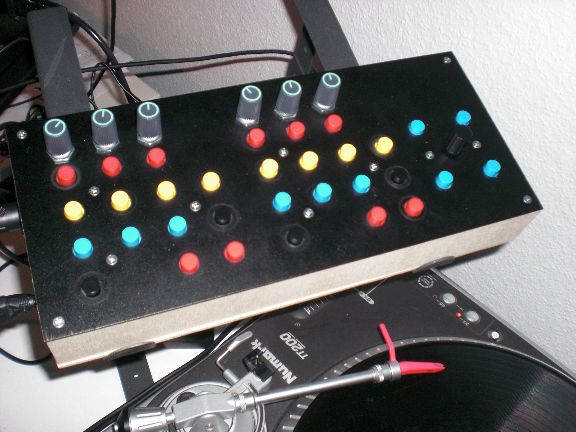
Nearly finished, Knobs for the poties are still missing. I still (have to) use Bome’s Midi-Translator, especially for the ‘navigation’-controls (scroll up, down, etc) but who cares…
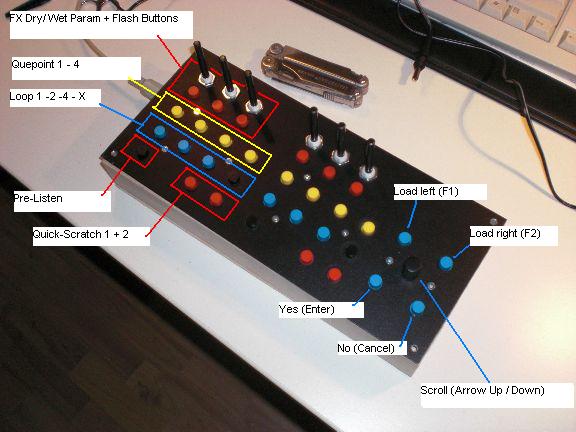
There we go!
And that’s another brilliant shot of how it looks like in real life…erm…well….the bar was already packed and I didn’t want to flashlight the crowd…
The code for the Arduino will be put up soon. It is still a bit crappy and needs some finetuning. Just contact me via the web form if you want to get it sooner.
